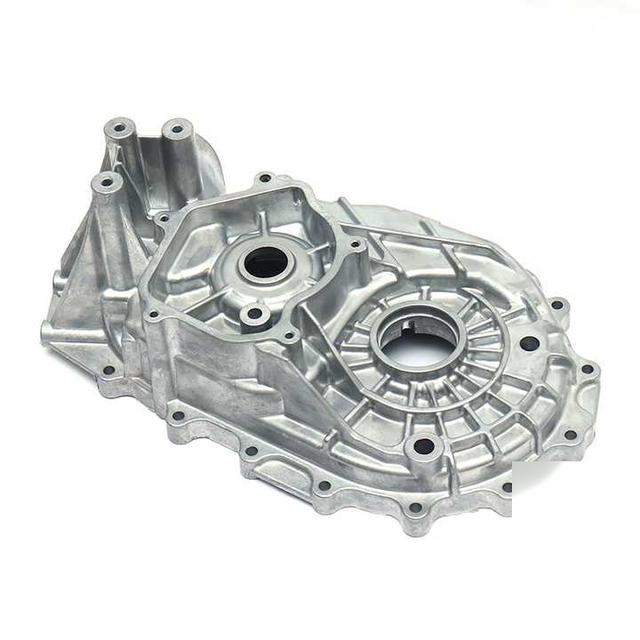
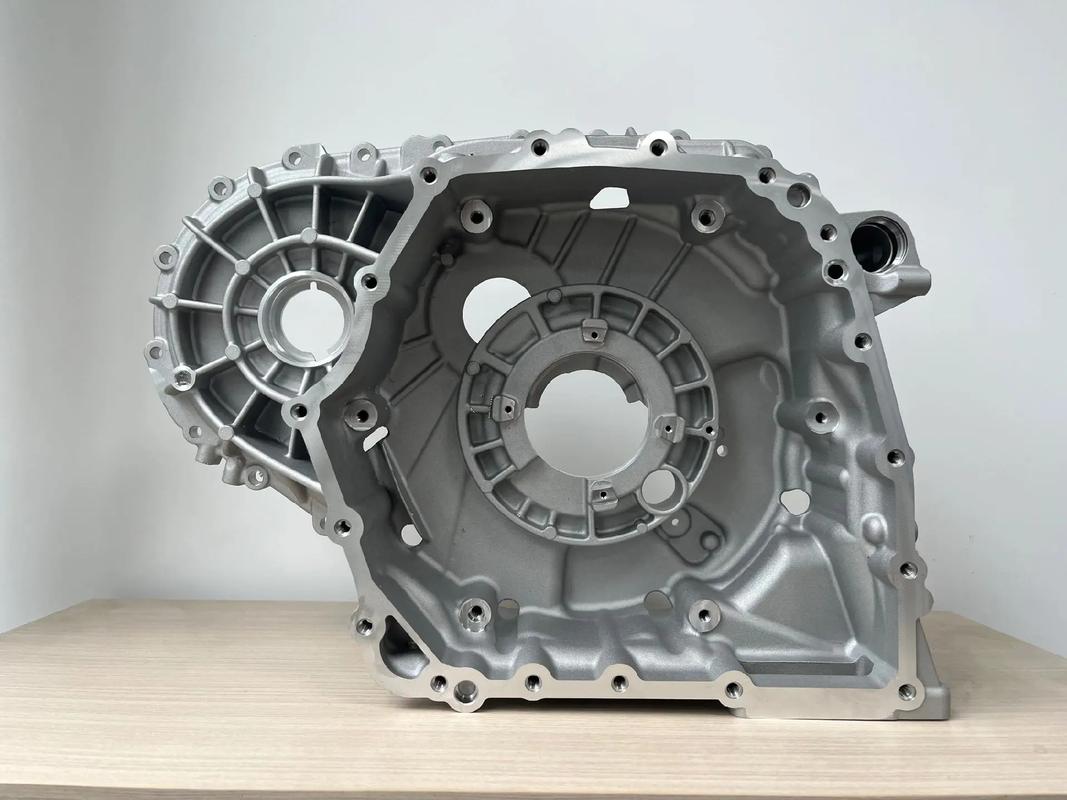
Flash is excess metal that forms when molten aluminum enters small gaps between die components during casting. Removing it is essential for assembly, appearance, and dimensional compliance. However, aggressive deflashing can damage critical surfaces, alter dimensions, and increase production costs.
The best die casting flash removal method depends on flash location, part geometry, production volume, and surface requirements. This guide compares common methods and explains how to select a suitable process while controlling quality, cost, and safety risks.
Key Takeaways
Inspect the die and casting process when flash becomes excessive.
Match the removal method to flash thickness, location, and part geometry.
Consider tooling cost, labor, consumables, and cycle time when comparing methods.
Verify dimensional stability and surface quality through sample testing.
Evaluate combustible dust hazards before selecting blasting or dry finishing equipment.
Table of Contents
Toggle
1. Understanding Aluminum Die Casting Flash
Flash forms when molten metal enters gaps between die halves or around moving components. Common locations include parting lines, ejector pins, and slide cores. Flash may also appear near vents and overflow features, depending on the die design.
Not all flash indicates the same problem. A small, predictable amount may be manageable through a planned secondary operation. Excessive or inconsistent flash may indicate die wear, misalignment, insufficient clamping force, thermal distortion, or unsuitable process settings.
When flash increases unexpectedly, inspect the die and casting process before increasing the intensity of downstream finishing. Removing the symptom without correcting the cause can increase cycle time, surface damage, and rework.
Successful flash removal must meet three main requirements:
Surface quality: Avoid unwanted pitting, scratches, or changes to cosmetic surfaces.
Production efficiency: Match the finishing cycle to production demand without creating a bottleneck.
2. Common Methods for Removing Die Casting Flash
Trim Dies for High-Volume Production
Trim dies use a press and a dedicated tool to shear excess metal from selected areas of a casting. They are often suitable for high-volume production when flash locations are consistent and the tooling investment can be justified.
The main advantage is cycle-time efficiency. Trim dies can also be integrated into automated casting cells. However, each part design may require dedicated tooling, and the cutting edges need regular inspection and maintenance.
Trim dies mainly address accessible external flash. They may not remove flash inside deep cavities or intersecting holes. The process can also leave a witness mark or a sharp edge that requires secondary finishing.
Before adopting a trim die, verify tool clearance, part location, support points, and the effect of trimming on critical surfaces.
Vibratory and Mass Finishing
Vibratory finishing processes suitable parts together with finishing media and compound. The relative movement between the media and workpieces can remove light flash, soften sharp edges, and create a more consistent surface appearance.
Media selection is important. Ceramic media may remove material more aggressively, while plastic or other suitable media may provide gentler finishing in selected applications. The right choice depends on the casting alloy, flash condition, geometry, and required finish.
Potential limitations include longer cycle times, media lodged in holes or recesses, and dimensional changes caused by excessive processing. Test representative parts before establishing production settings.
Blasting and Surface Preparation
Blasting propels media against the casting to remove selected surface material or prepare the part for subsequent finishing. It may be useful when the process requires both flash removal and a uniform surface texture.
However, media type, impact intensity, exposure time, and equipment settings affect the result. Unsuitable media or excessive impact can cause pitting, unwanted texture, or damage to functional surfaces.
Do not assume that standard steel shot is suitable for every aluminum casting. Evaluate media compatibility, contamination risk, surface requirements, and dimensional limits through sample testing.
Blasting also creates particulate hazards. The dust collection system must be designed for the actual material and process, with combustible metal dust risks assessed before equipment selection.
Cryogenic Deflashing
Cryogenic deflashing uses very low temperatures to change the behavior of flash so that it can be removed using a suitable mechanical action or media. It is a specialized process rather than a universal solution for aluminum die castings.
Its suitability depends on the alloy, flash geometry, component design, and the behavior of the part at the selected temperature. Do not assume that thin flash will always separate cleanly or that the base material will remain unaffected.
Before choosing cryogenic deflashing, confirm material compatibility, dimensional requirements, processing cost, and the results of representative sample tests.
CNC Machining and Manual Deburring
CNC machining can remove flash from selected areas with controlled tool paths. It may be appropriate for complex parts, critical features, or lower-volume production where dedicated trimming tools are not economical.
The process requires suitable fixtures, tool access, and careful programming. Poor workholding or excessive cutting can cause chatter marks, damage thin walls, or affect critical dimensions.
Manual deburring uses hand tools, rotary files, or powered grinders. It offers flexibility for prototypes and small batches but may produce inconsistent results across operators. Define clear work instructions and inspection criteria when manual finishing is used for production parts.
Robotic Deburring and Grinding
Robotic finishing can help standardize tool paths and contact conditions for complex castings. It is worth evaluating when the same part or a family of parts requires repeatable finishing over sustained production runs.
Yatai offers die casting deburring and polishing equipment, including robotic deburring, grinding, and polishing equipment. The appropriate configuration depends on the casting geometry, material-removal target, surface finish, and required cycle time.
For complex parts, explore Yatai's robot deburring machine range. Sample processing can help verify whether the proposed tool, fixture, and robot path meet the required edge condition.
3. Compare Deflashing Methods
Method
Typical strengths
Main limitations
Best suited for
Trim dies
Fast, repeatable trimming
Dedicated tooling and maintenance
Consistent external flash in suitable high-volume production
Vibratory finishing
Batch processing and edge finishing
Media lodging and possible dimensional change
Suitable small or medium parts with light flash
Blasting
Surface treatment and selected flash removal
Surface texture and impact damage risks
Parts requiring a controlled blasted finish
Cryogenic deflashing
Specialized removal approach for selected flash
Material compatibility and process cost
Applications validated by sample testing
CNC machining
Controlled removal at selected features
Programming, fixtures, and machine time
Complex parts or critical local features
Manual deburring
Flexible and low setup cost
Labor and operator variation
Prototypes, repairs, and small batches
Robotic deburring
Repeatable tool paths and scalable automation
Integration and programming requirements
Recurring production of complex castings
No method is best for every casting. Compare the full process rather than cycle time alone. Tooling, labor, consumables, inspection, rework, and equipment utilization all affect the cost per acceptable part.
4. How to Select the Right Process
Consider Production Volume and Tooling Cost
Dedicated trim dies may be economical when production volume is high and the flash location remains consistent. Manual or flexible finishing methods may suit prototypes, smaller orders, or frequently changing designs.
Calculate the break-even point using actual tooling quotes, expected production volume, cycle time, maintenance, and labor costs. Avoid using a single unit-volume threshold for every part.
Evaluate Part Geometry and Tolerances
Thin walls, deep recesses, internal passages, and precision mating surfaces can restrict the available methods. A process that removes external flash efficiently may not reach internal features or preserve a sensitive cosmetic surface.
Identify critical dimensions and surfaces before selecting equipment. Where necessary, separate bulk flash removal from final edge finishing or polishing.
Match the Surface Finish Requirement
Some parts need only functional flash removal. Others require a uniform matte surface or preparation for coating, painting, or polishing.
A blasting process may produce a textured finish, while vibratory or robotic finishing can serve different surface requirements depending on media and tooling. Define the required finish before choosing the process.
Validate the Process with Sample Parts
Ask equipment suppliers or finishing providers to process representative castings. Check flash removal, edge condition, surface appearance, critical dimensions, and any trapped media.
Use these results to set process parameters, inspection criteria, and maintenance intervals before moving to full production.
5. Common Deflashing Problems and Corrective Actions
Problem
Possible cause
Recommended action
Flash remains after trimming
Tool wear, unsuitable clearance, or excessive flash
Inspect the die and trim tooling; correct the root cause
Surface pitting after blasting
Unsuitable media or excessive impact
Review media compatibility and process settings
Media trapped in recesses
Unsuitable media geometry or part orientation
Test media sizes and shapes; improve post-process cleaning
Dimensional changes
Excessive material removal or processing time
Reduce process intensity and inspect critical dimensions
Inconsistent edge quality
Tool wear, variable manual work, or unstable settings
Standardize the process and establish inspection criteria
Media selection should be based on the actual hole geometry and the possibility of lodging. Do not rely on a universal percentage difference between media size and hole diameter.
6. Quality Control and Safety
Inspect the Die and Finished Parts
When flash increases unexpectedly, check the die for wear, misalignment, and damage. Verify that the casting process is stable before changing downstream finishing settings.
After deflashing, inspect the part against its drawing and acceptance criteria. Depending on the application, checks may include visual inspection, dimensional measurement, edge condition, and surface roughness.
Prevent Media Contamination
Media can become trapped in holes, channels, or recesses. Select a suitable media geometry and establish a post-process cleaning procedure. Verify internal passages where contamination could affect the final assembly or operation.
Manage Combustible Aluminum Dust
Aluminum dust can create serious fire and explosion hazards. Assess dust generation, ignition sources, collection equipment, housekeeping, and the requirements applicable to the specific process.
Do not assume that a wet or dry dust collector is automatically suitable for every application. The system must be selected and engineered for the actual combustible metal dust and the facility's safety requirements. Consult qualified safety professionals when designing or modifying dust collection equipment.
Conclusion
Effective die casting flash removal starts with understanding why flash forms and where it affects part function. Inspect the die when flash becomes excessive, then choose a removal method based on geometry, production volume, tolerance, surface finish, and total processing cost.
Trim dies may suit repeatable high-volume work, while vibratory, blasting, machining, or robotic methods serve different requirements. Validate the process using representative parts and inspect the results before production release.
1. What is the most effective method for removing aluminum die casting flash?
The best method depends on flash location, part geometry, production volume, and surface requirements. Trim dies may suit repeatable external flash, while machining or robotic finishing may be more appropriate for selected complex parts.
2. Can vibratory finishing remove heavy die casting flash?
Vibratory finishing is generally better evaluated for light flash, edge finishing, and surface refinement. Heavy or thick flash may require trimming or another primary removal method before mass finishing.
3. Is cryogenic deflashing suitable for all aluminum die castings?
No. Suitability depends on alloy behavior, flash geometry, part design, and process conditions. Representative sample testing is necessary before selecting this method.
4. How can manufacturers prevent surface damage during flash removal?
Define critical dimensions and surface requirements first. Select compatible tooling and media, control process intensity, and inspect sample parts before establishing production settings.
5. When should manufacturers consider robotic deburring?
Robotic deburring is worth evaluating when recurring production requires consistent tool paths and controlled finishing on complex parts. The decision should account for cycle time, fixturing, programming, integration, and quality requirements.